other ->
I am back
July 29, 2015
It may sound surprising but maternity leave with a newborn may be somewhat boring at times. And I don't complain at all because only when I'm bored and for a change, my mind is not scattered over 10 different things, I start to feel the desire to learn something new. When Stanko was born, I wanted to record the moments with him, to have something to look back when he'll be all grown up. Having started two blogs before that quickly perished of no activity, I did not want to have to maintain yet another web in addition to
flickr,
youtube, and
my old college website. Perhaps the natural next step would be to get a domain but I doubted if I need it. Since my college account has limited space, and I'm not an admin of it, I did not want to get into deploying an oversized blogging engine like wordpress or drupal.
That was the time when I wrote a
generator in python that creates
static blog pages from text files. Sure, the editing was cumbersome but it did not need any fancy software or database.
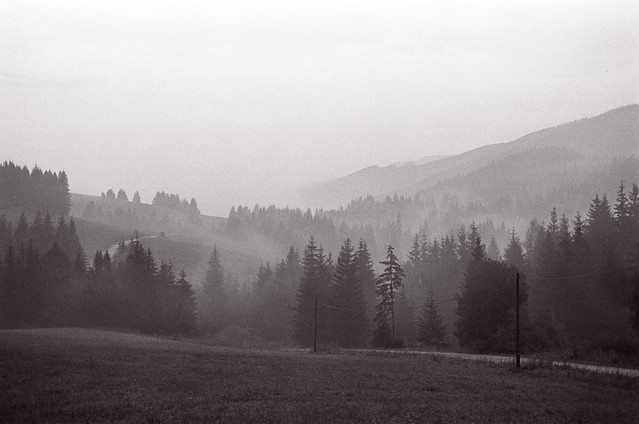
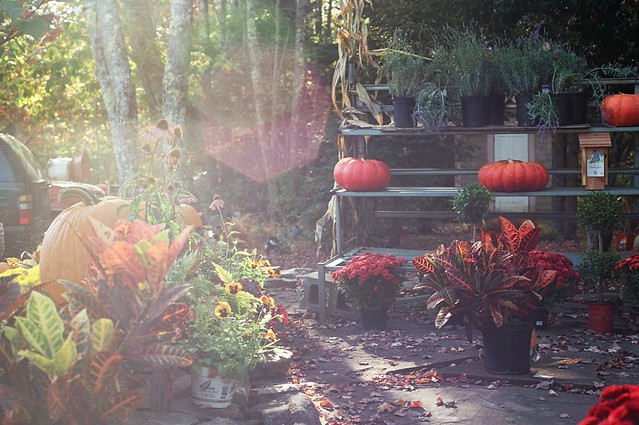
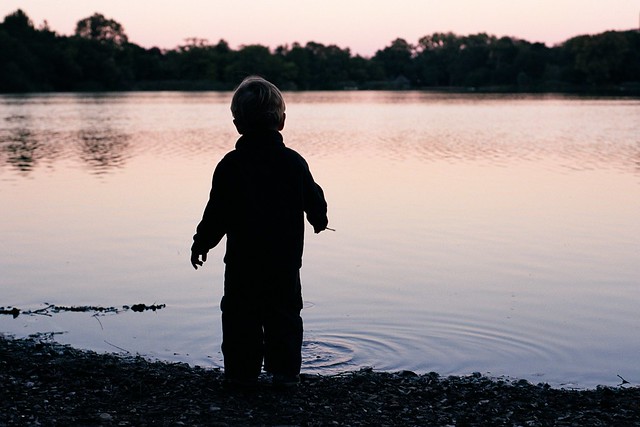
Soon after I returned to work I was laid off and once again jobless. As juggling a demanding child and a demanding job is exhausting, I'd almost appreciate my lay-off if it didn't make me deal with the work visa issues. Shortly before this I bought a 'new' old film camera (Nikon N60) as I was missing the superb colors and contrast of film (film photography started to become fashion in my flickr circles, and it reminded me of that), and had troubles to focus and frame photos with my FED rangefinder (great for landscapes, tough for close ups due to manual focus and the parallax shift). Having a lot of time and a cute object to photograph, I decided to start a photo blog.
This time, I wanted something less awkward than a static page generator but was unsure of using the mainstream blog engines (one reason was that I did not want to deal with php). Michal mentioned
Django framework, and having at least slight experience with python, it seemed a like feasible way to go. I could also easily run it on his domain, hosted by a friend.
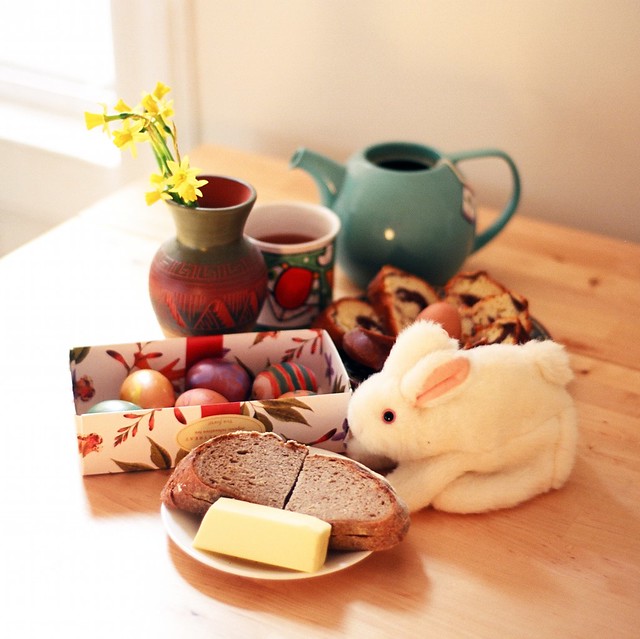
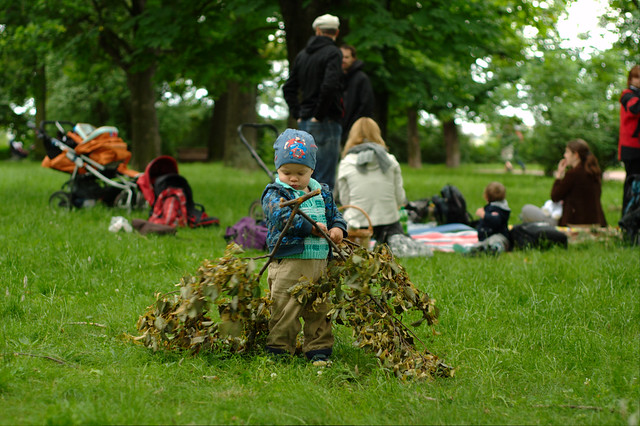
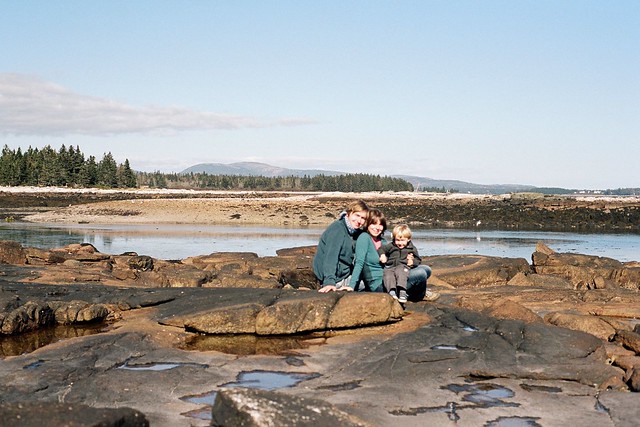
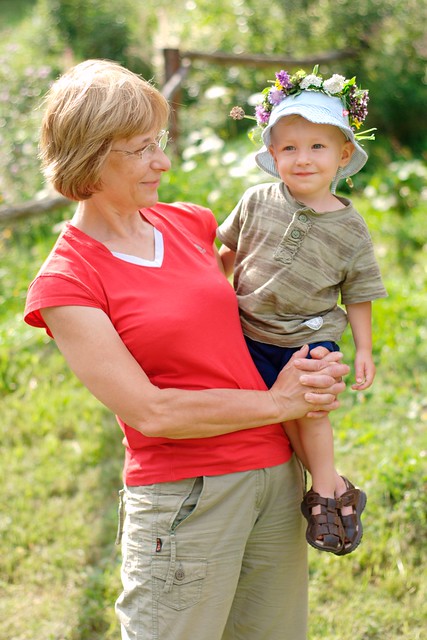
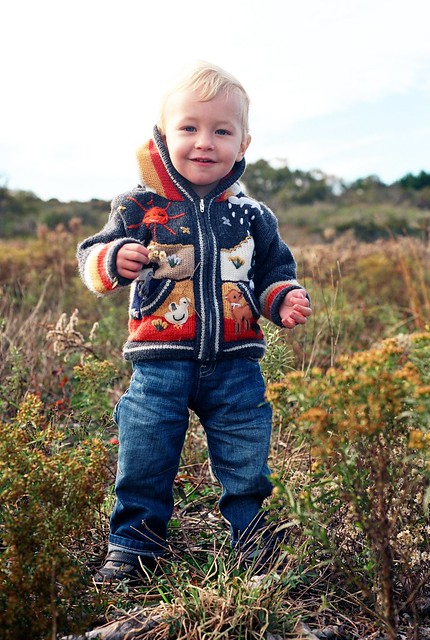
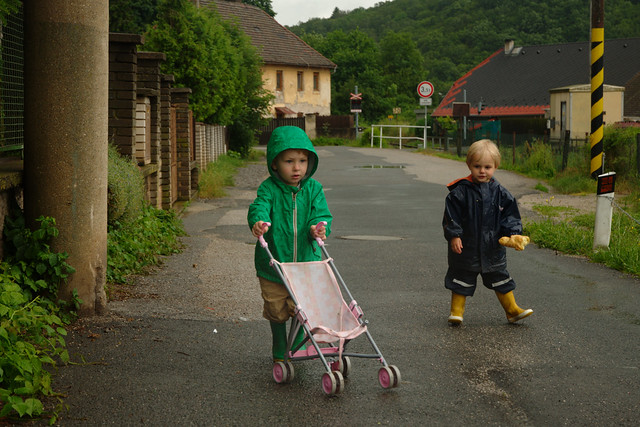
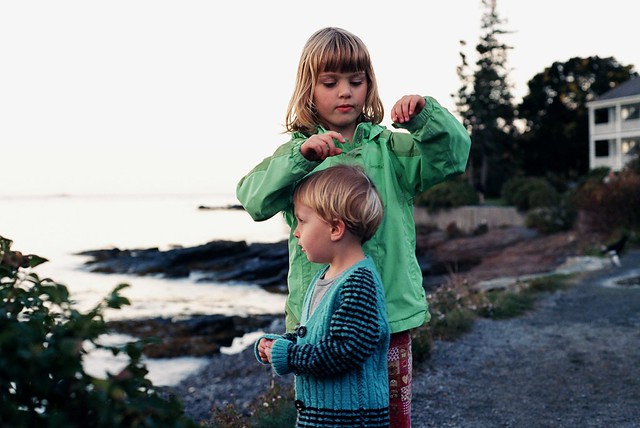
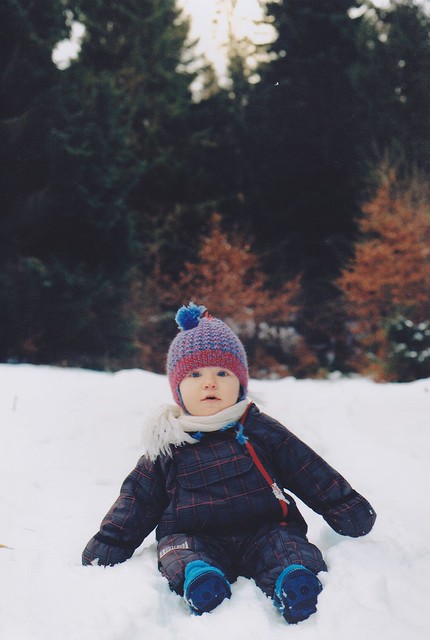
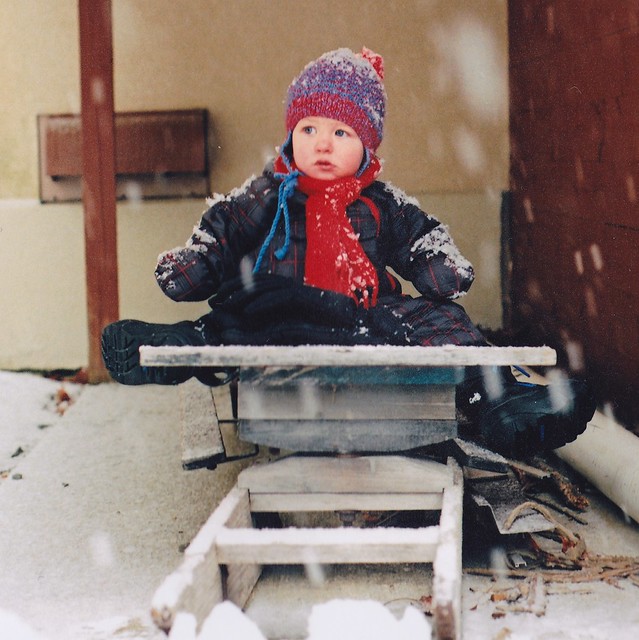
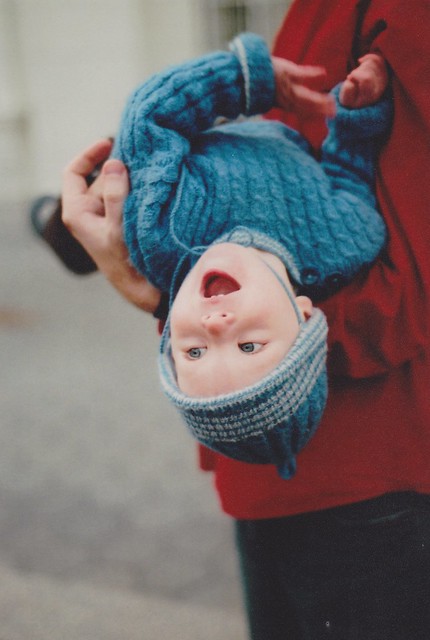
Thanks for being unemployed for months, this blog did not die quite as fast as the two previous ones. With the new addition to our family (lovely Karin pictured below, with another consequence of my boredom on her head), I once again enjoy the stay-at-home mom status and time to be creative. Hence I decided to revive this blog, not strictly for posting photos. See you soon.
other ->
portraits of a child - year two
March 25, 2014
Stanko turned 3 a week ago. A retrospective of our joyful life with him.

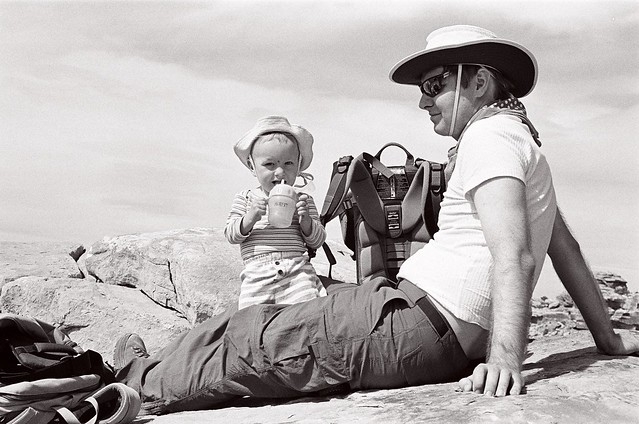
one year, Lake Powell, Utah
one year, Canyonlands, Utah
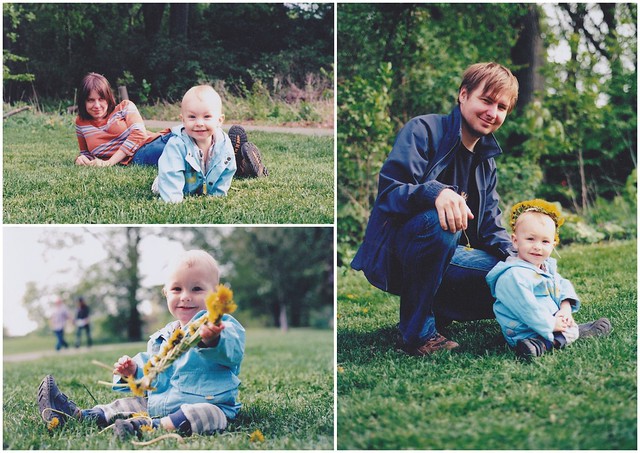
dandelions, 13 months

with a ball, 14 months

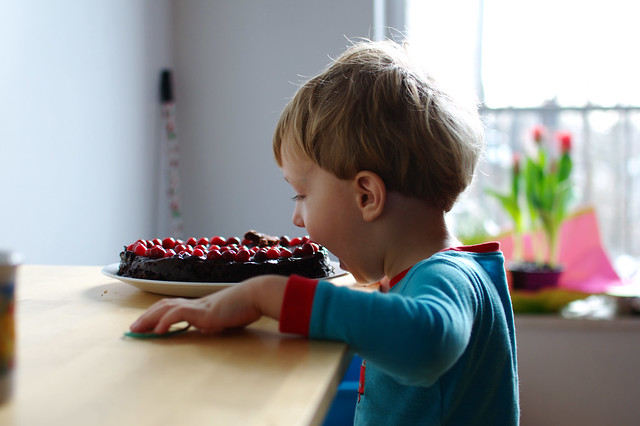
chocolate ice cream, 15 months

give me more sangria, 15 months
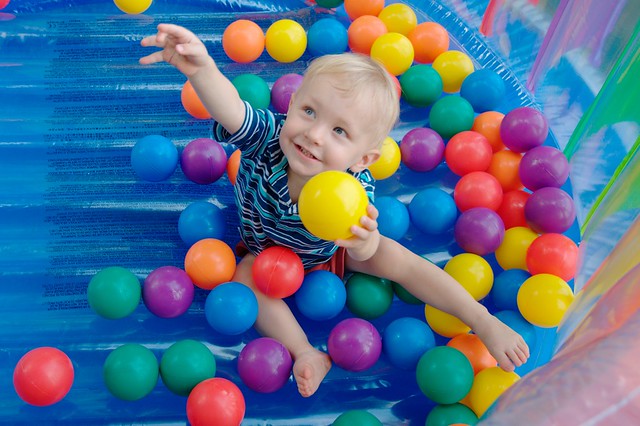
colorful balls, 15 months
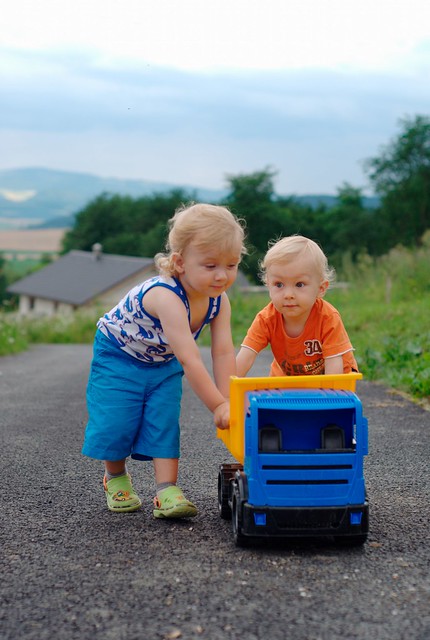
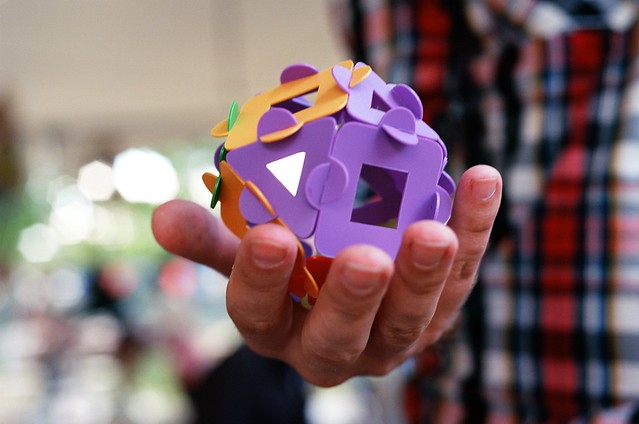
power in unity, 16 months

on a walk, 16 months, Rudňany
the flower child, 16 months, Poráčska dolina
Prague historic, 17 months

the hiker, 17 months, Cathedral Lake, Yosemite NP

the camper, 17 months, Tuolumne Meadows, Yosemite NP

the climber, 17 months, Mt Hoffmann, Yosemite NP

the smiley, 17 months, Mariposa Grove, Yosemite NP
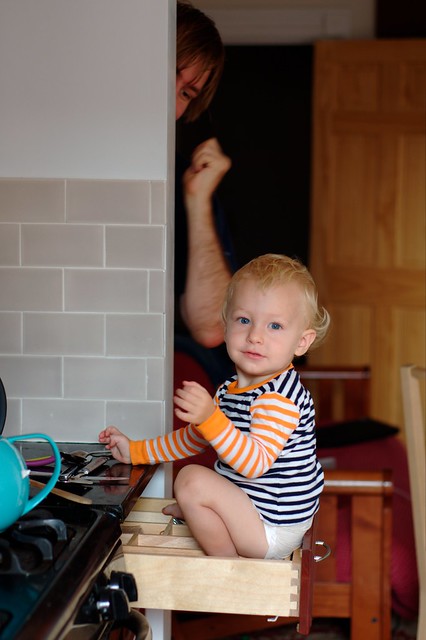
in the drawer, 18 months
playing at MIT, 19 months
Nantucket coast, 19 months
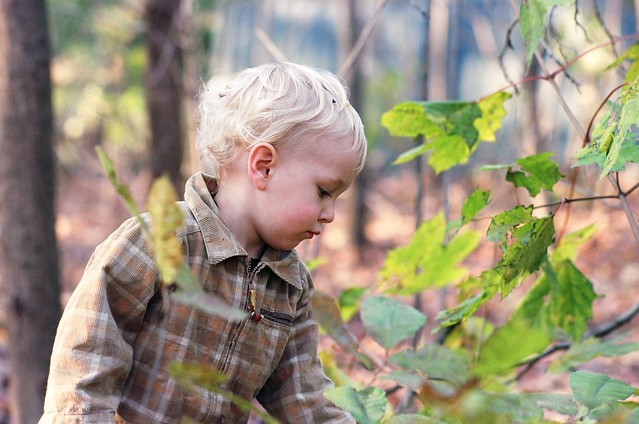
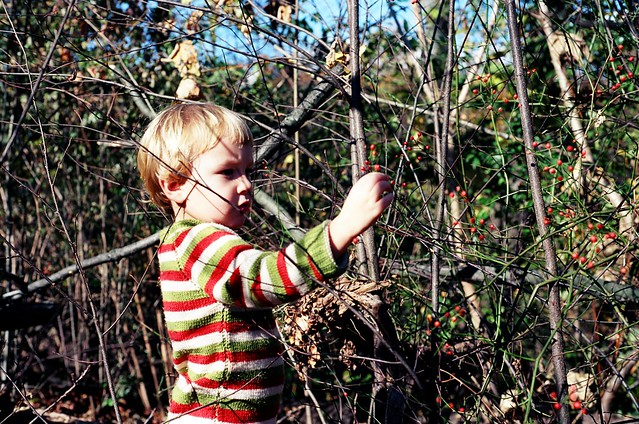
nature boy, 20 months
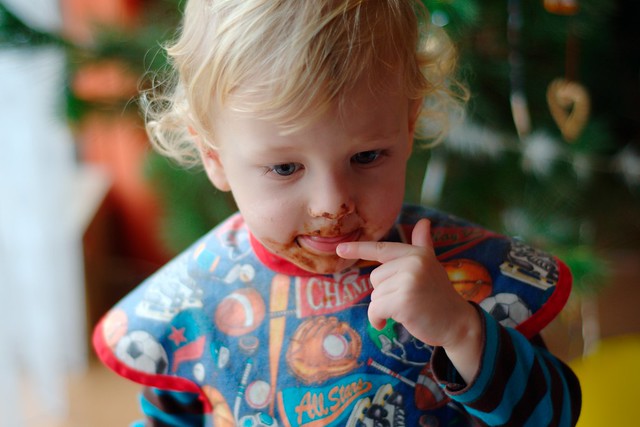
Christmas chocolate, 21 months, Prague
upset, 21 months, Rudňany

you, 22 months
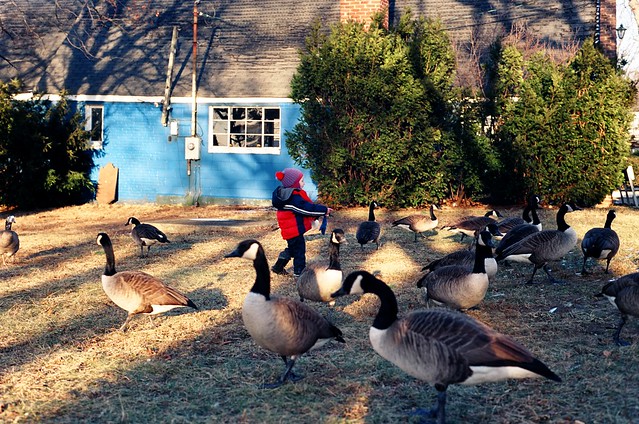
chasing geese, 23 months, Port Washington
almost two, Vermont
other ->
portraits of a child - year three
March 25, 2014
Stanko turned 3 a week ago. A retrospective of our joyful life with him.
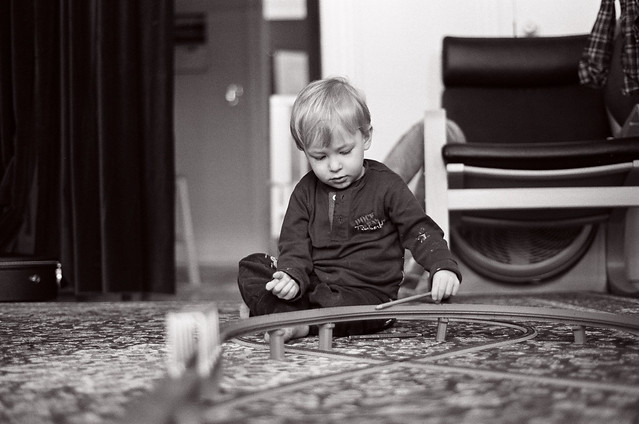
the beginnings of a great obsession, 2 years

two hikers, 25 months, Taghkanic lake
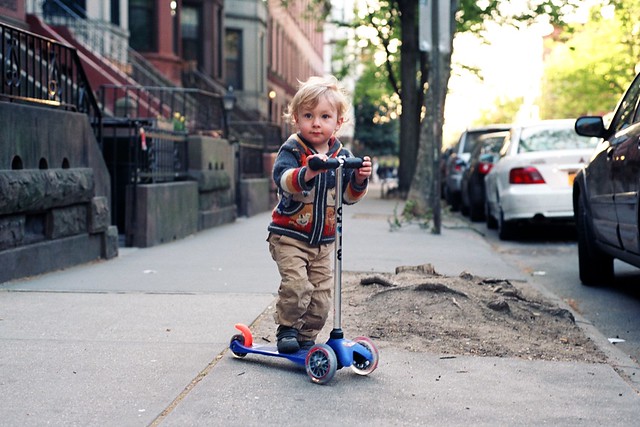
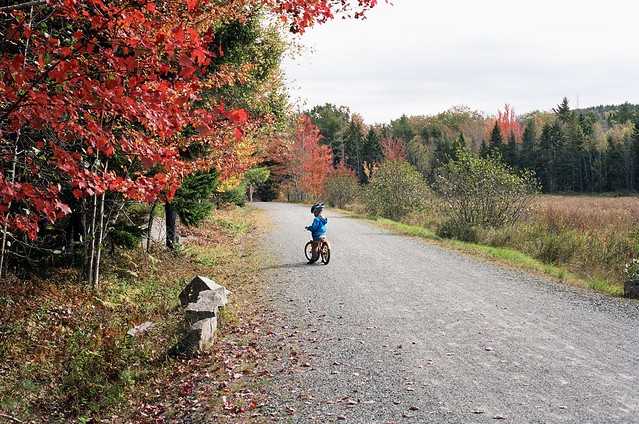
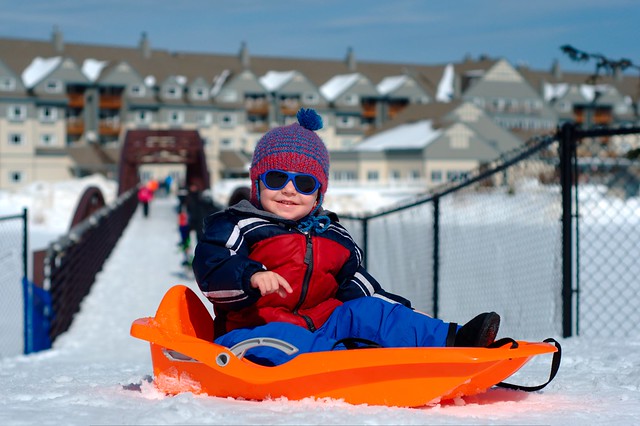
fearless rider, 25 months
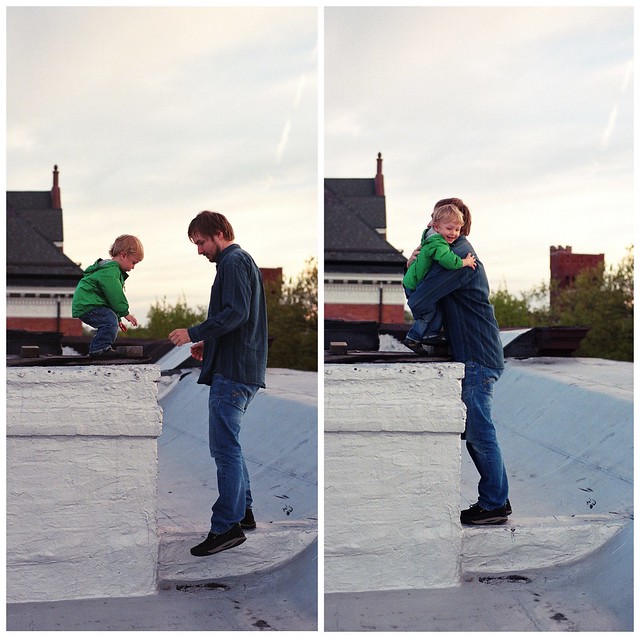
on the roof, 25 months
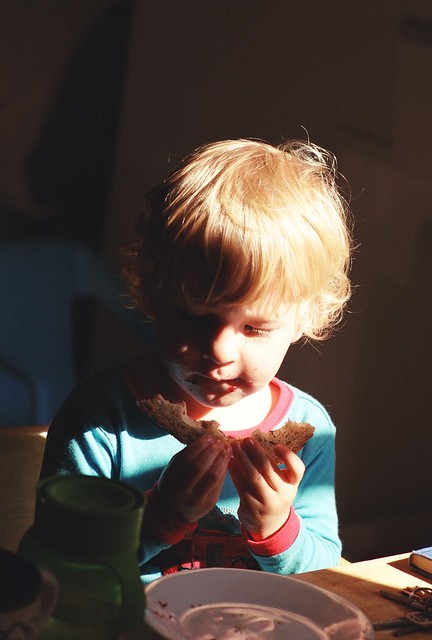
breakfast, 26 months
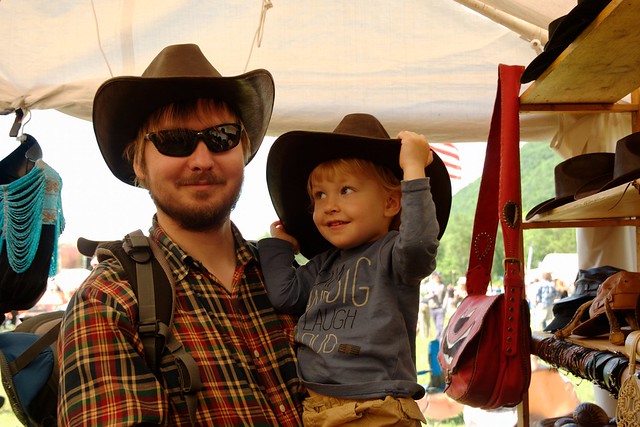
my first music festival, 26 months

in West Virginia, 26 months

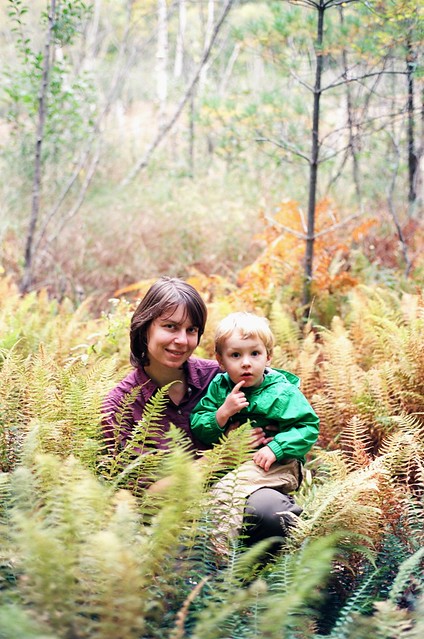
in the fern, 26 months, West Virginia

at ease, 27 months

roller coaster, 27 months
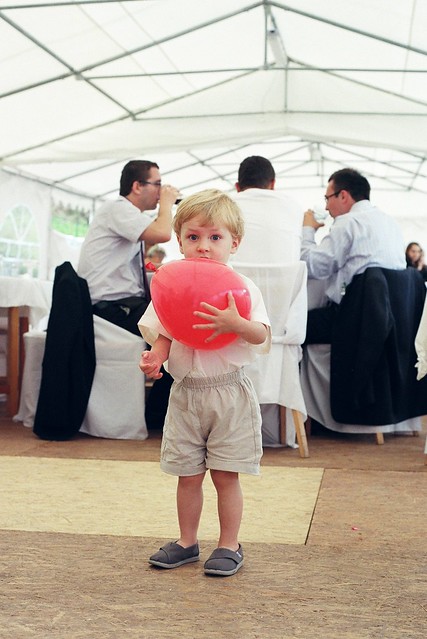
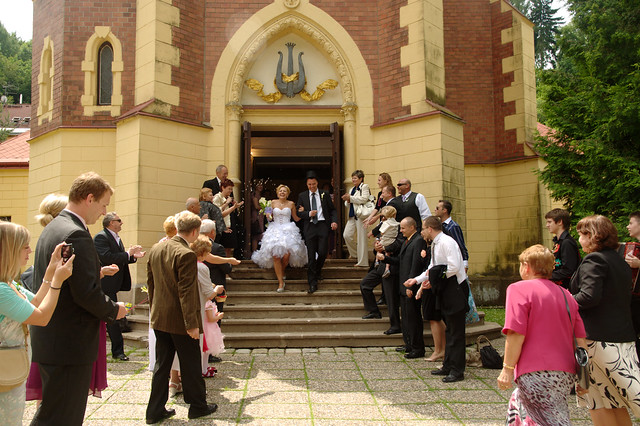
the wedding guest, 27 months, Pec pod Sněžkou
sharing, 27 months, Hýskov
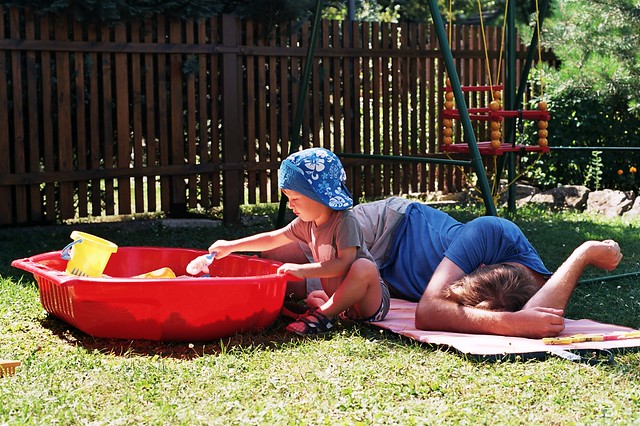
busy at the sandbox, 28 months, Rudňany

learning to swim, 28 months, Oravská priehrada

in the cold brook, 28 months, mill Oblazy
in the storm, 28 months, Orava
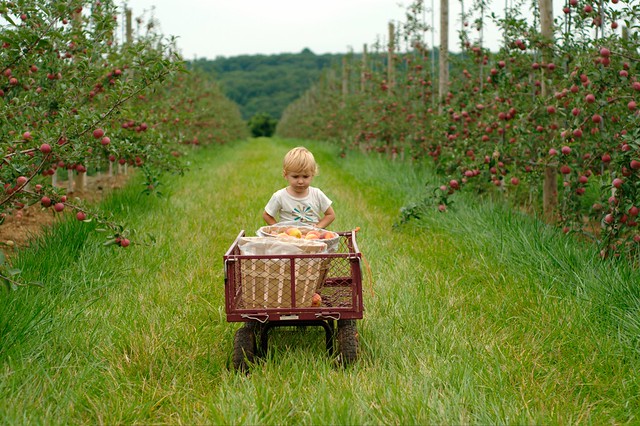
apple picking, 29 months

the real perspective, 29 months
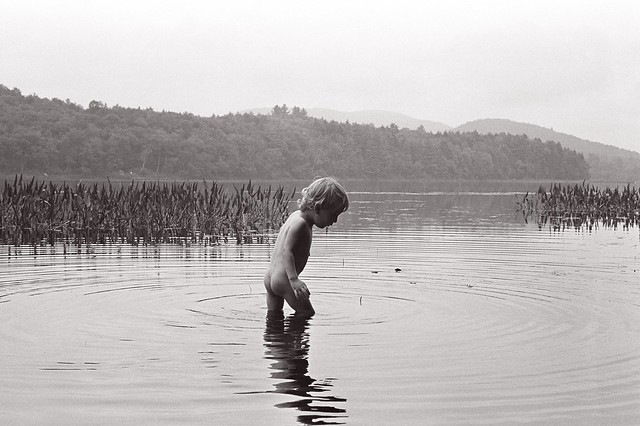
Adirondacks swimming, 29 months
after rain, before rain, 29 months, Adirondacks
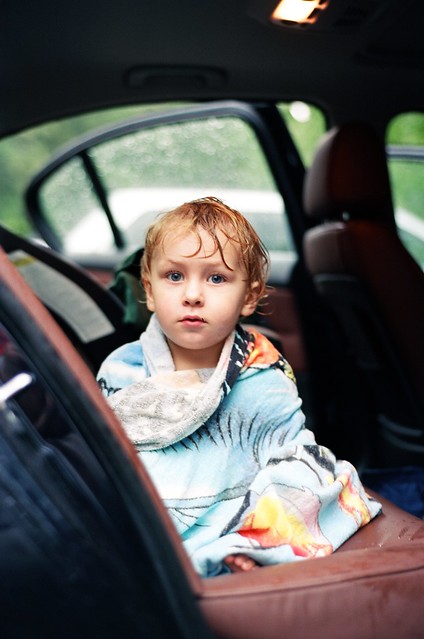
we've got drenched to the bone, 29 months, Adirondacks
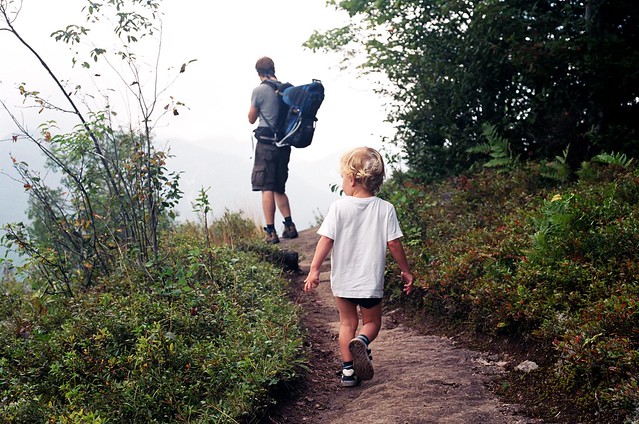
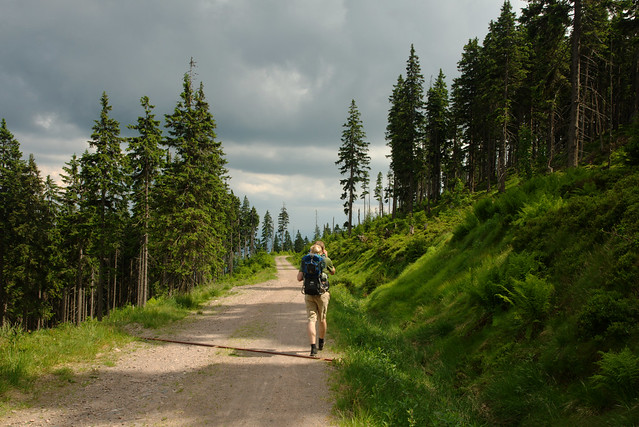
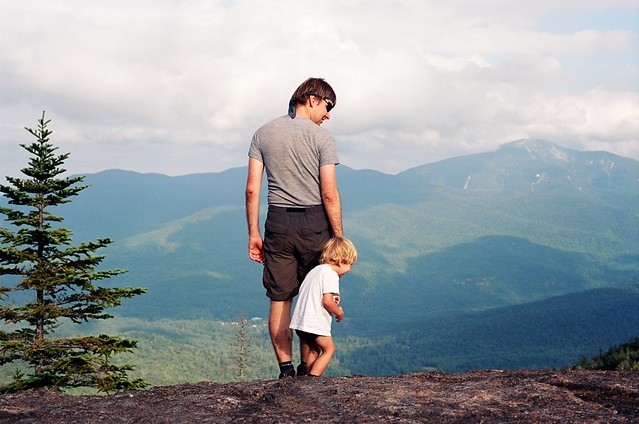
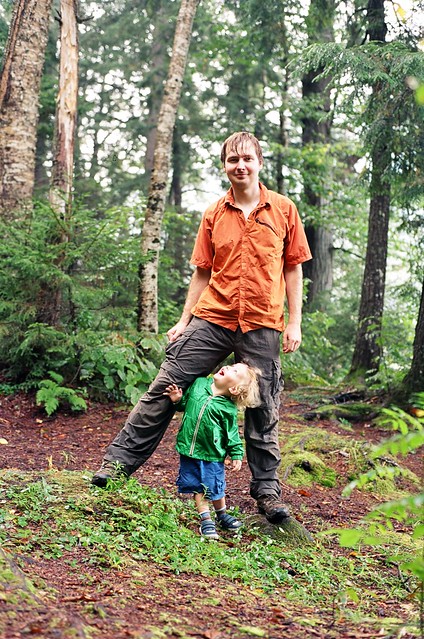
the very real hiker, 29 months, Adirondacks
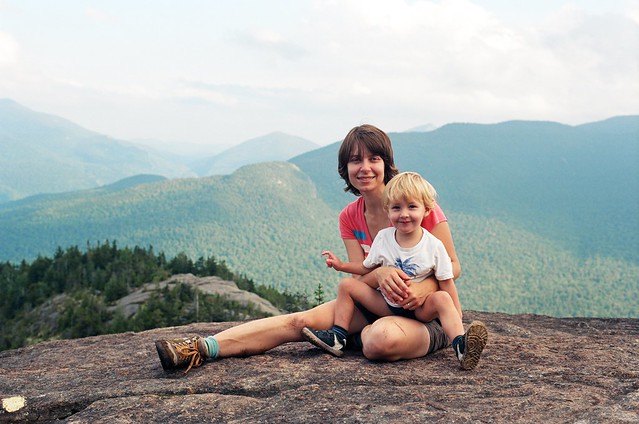
with the view, 29 months, Adirondacks
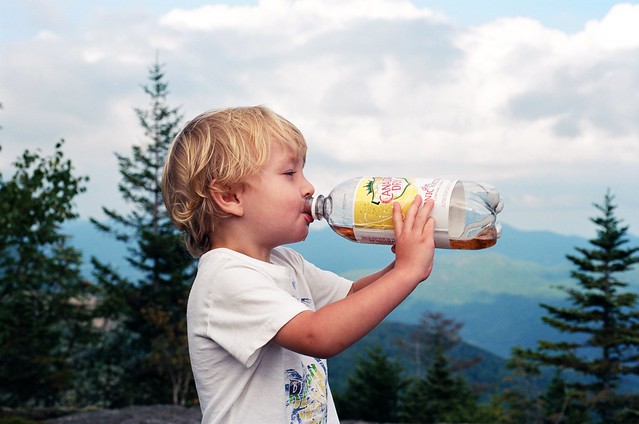
the thirsty boy, 29 months, Adirondacks
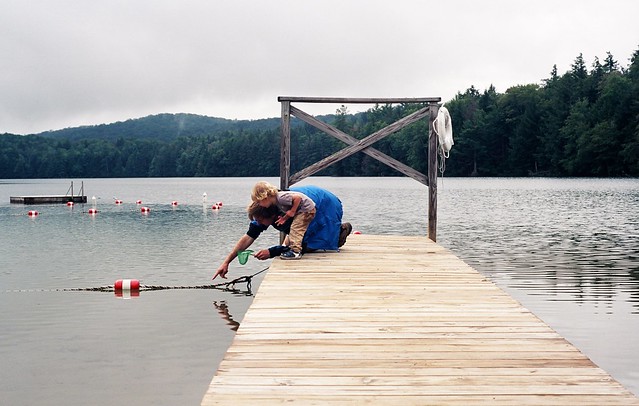
newt hunting, 29 months, Adirondacks
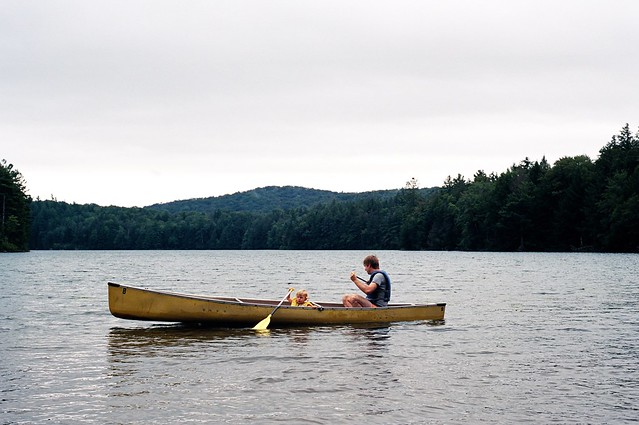
canoeing, 29 months, Adirondacks
playing a fisher, 30 months

tired at Makers Faire, 30 months
with my friend Svatava, 31 months, Bar Harbor

eating a lobster, 31 months

the artist, 31 months
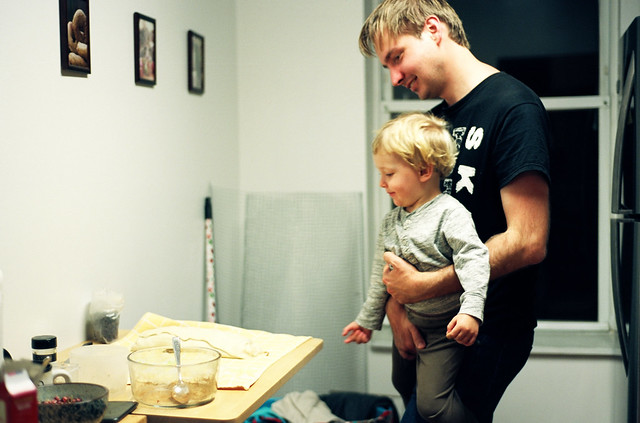
baking, 31 months
the fall, 31 months
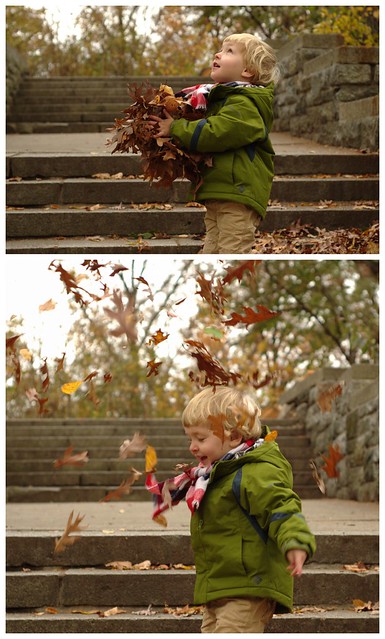
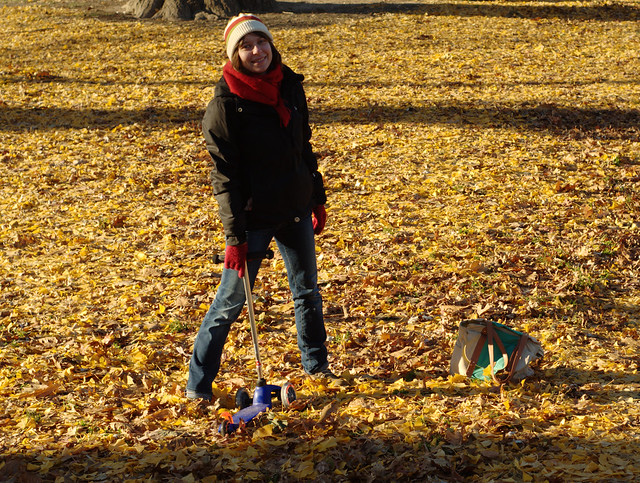
playing with leaves, 32 months
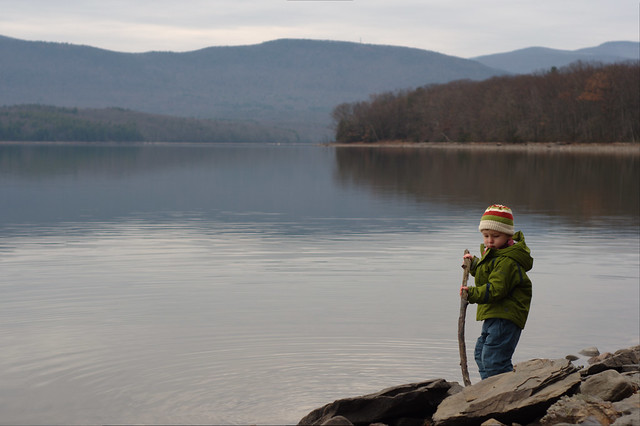
at Ashokan reservoir, 32 months
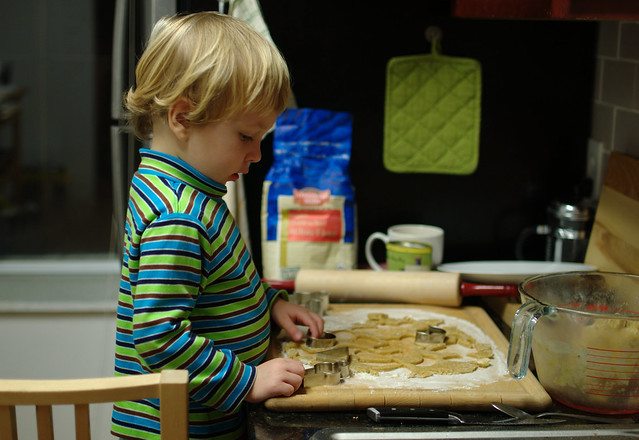
little baker, 33 months
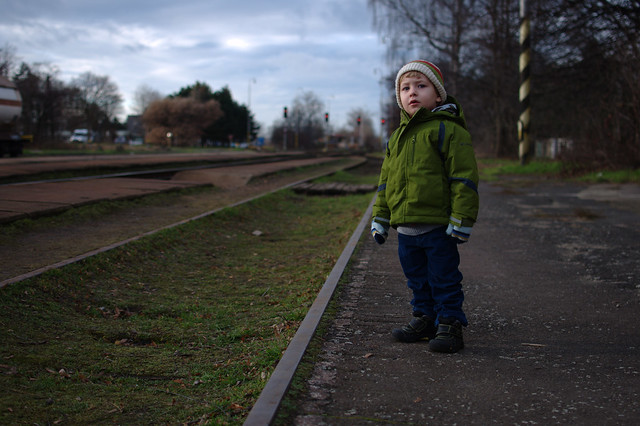
where's the train, 33 months, Prague

jetlagged, 33 months, Prague
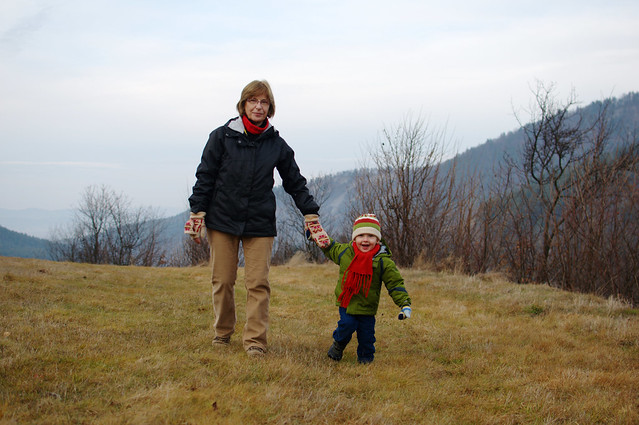
with grandma, 33 months, Rudňany
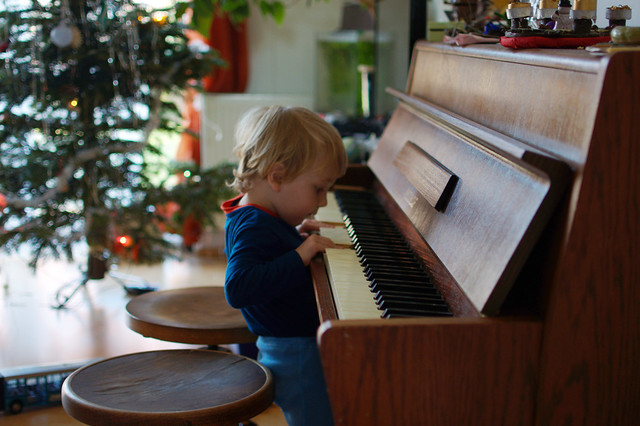
the pianist, Prague
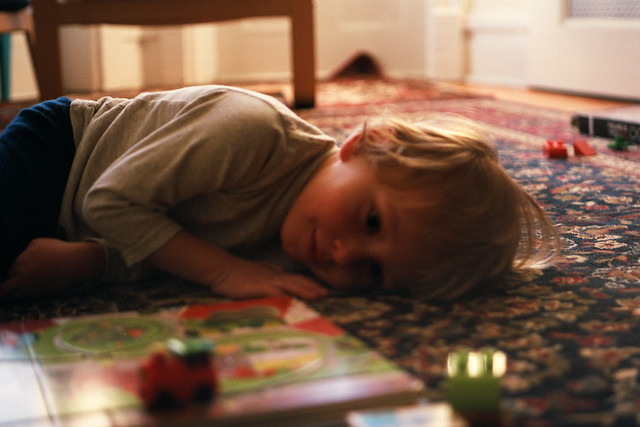
playing with the Christmas presents, 34 months
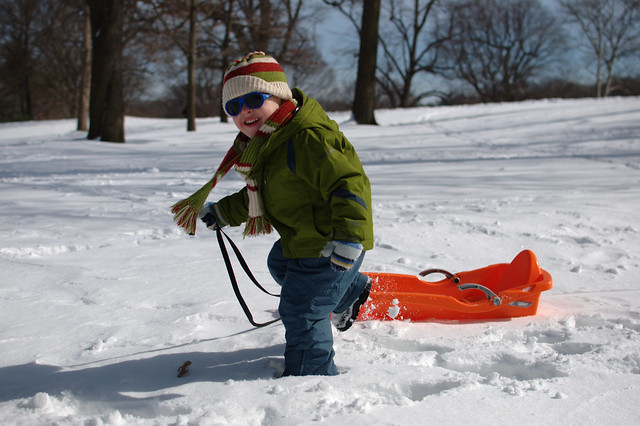
no shortage of snow, 35 months
three
other ->
portraits of a child - year one
March 24, 2014
Stanko turned 3 a week ago. A retrospective of our joyful life with him.
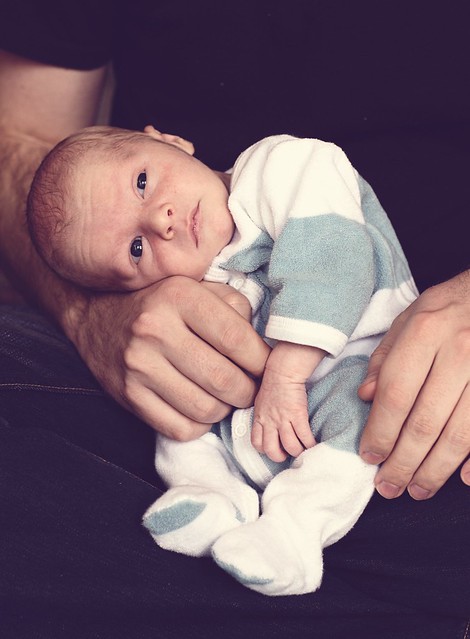
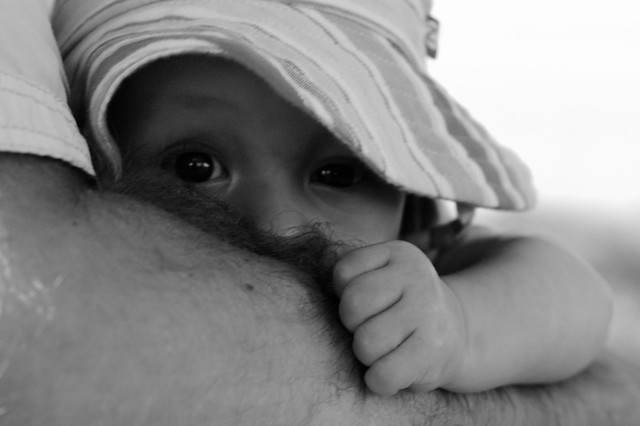
with daddy at 3 weeks
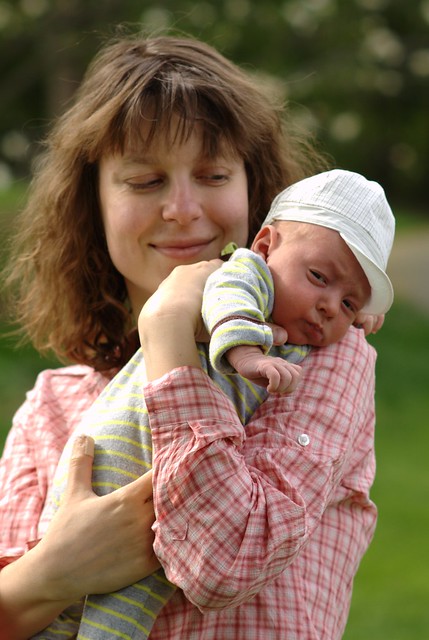
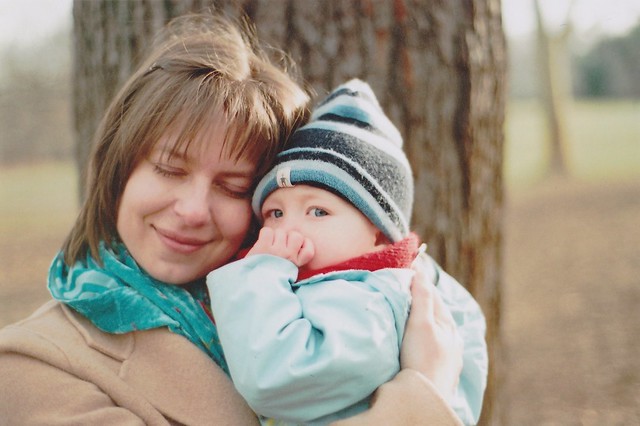
with mommy at 7 weeks

a milestone, nearly 3 months
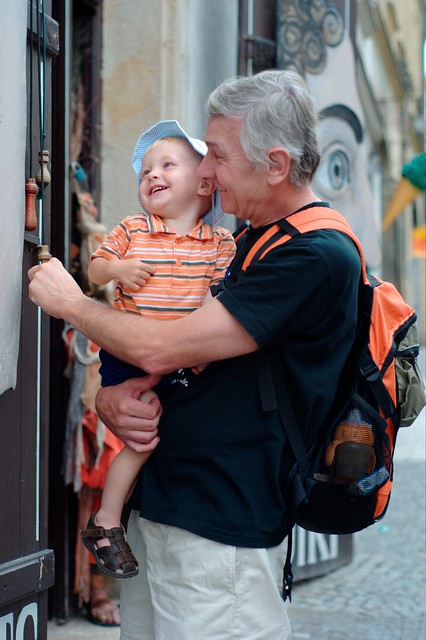
first time visit of grandparents at 3 months, Prague
with daddy, 4 1/2 months
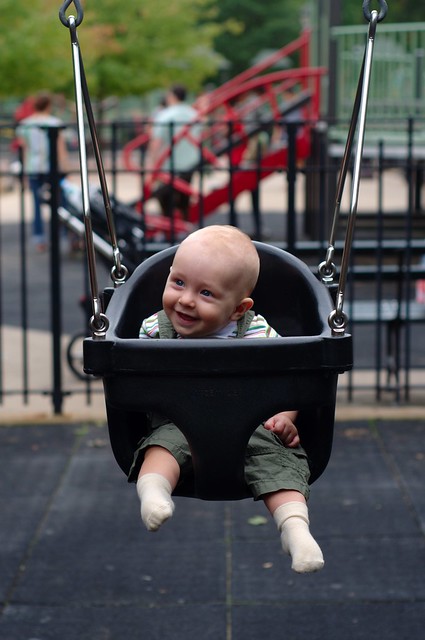
first time in the swing, 6 months
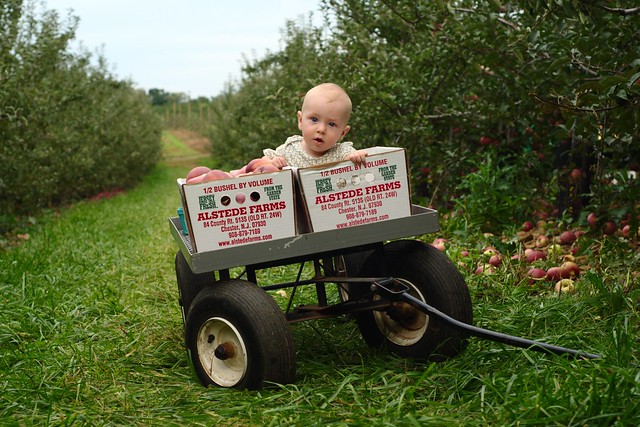
apple picker, 6 months
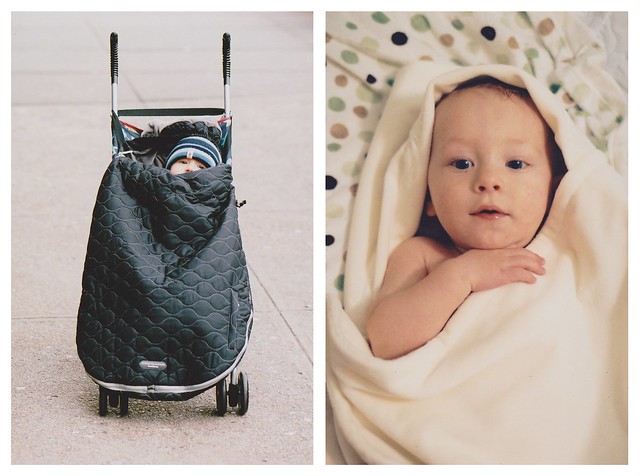
in the cold, after bath, 9 months
in the snow, 10 months, Rudňany

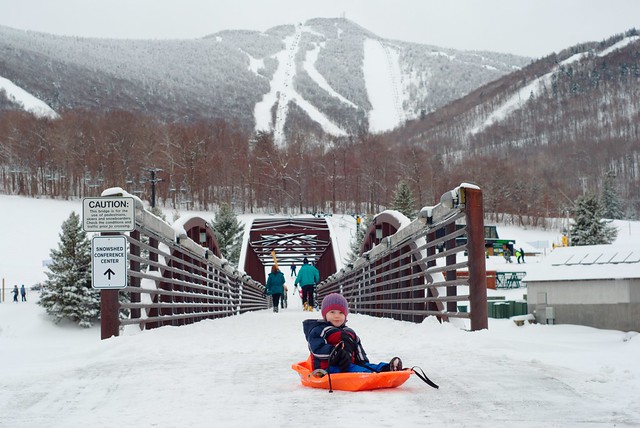
sledding, 10 months, Rudňany
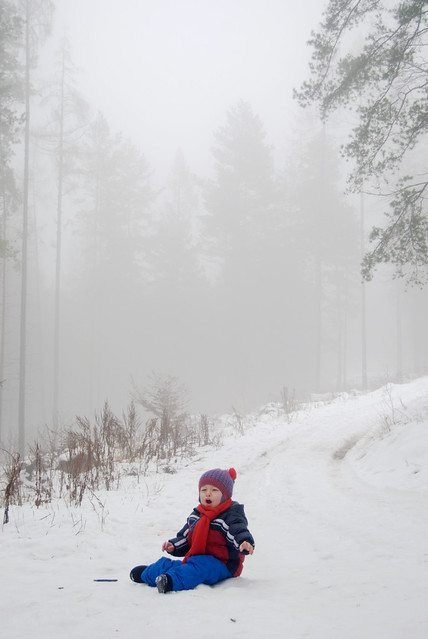
it's snowing, 11 months, Vermont
with mommy, one year
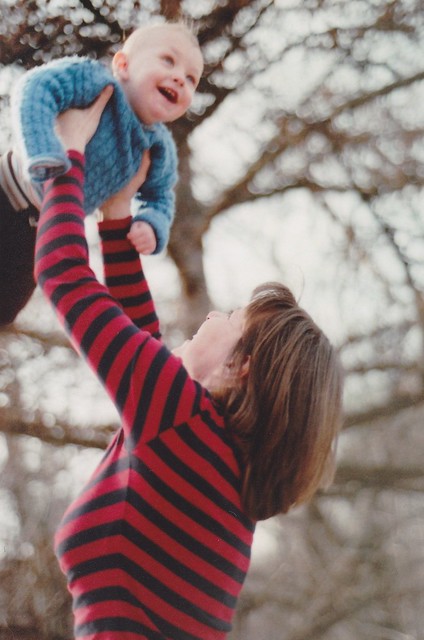
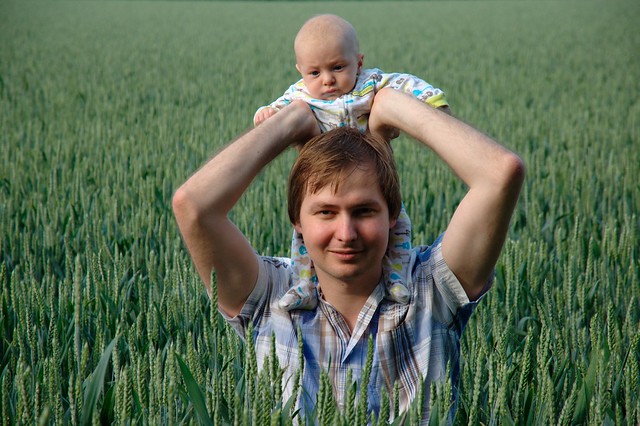
flying, one year
upside down
1 comment
other ->
something funny
July 23, 2013
Michal doesn't like to dance. Or so he says. On Shell Beach, Shelter Island, NY.


other ->
Digital post-processing
Aug. 2, 2012
I'm far from being a photoshop/gimp guru however, this is not intended to be a tutorial for experts and pros. Just a few simple notes for beginners.
1. Proper exposure is important. No matter the powers of photo-editing software, underexposed areas are grainy, which is not at all aesthetically pleasing in digital photos. Furthermore, both over- and underexposed areas lose a great amount of detail. This seems to be much more severe in digital than in analog photos. The acceptable-exposure range of a film is larger than of a digital chip.
2. That said, it's probably better to shoot in raw than in jpeg, to mitigate the effects mentioned above. Besides other things. For post-processing, I use gimp exclusively. Raw (Nikon .NEF) photos are handled with UFRaw plugin.
3. The general rule of a thumb I use, with a few exceptions, is that less is more. What I like about photos, besides a fresh perspective, interesting composition, and proper focus where it is desired, are clean and popping colors, and the right amount of contrast, with good definition of details in black&white pictures. What I don't like are overdone HDR, skin-smoothing, and color-obscuring techniques (I speak to you, Instagram).
4. Now to UFRaw and gimp: Let's start with UFRaw. The native gamma (luminance) compression/expansion parameter 45 seems too large for my taste (too dark shadows) in most lighting conditions. I usually lower it to 40, and would go even lower but that also results in more grain. Unless the photo or some of its areas are overexposed (which is sometimes unavoidable without a proper optical filter), I mostly adjust the curve setting in the shadow range. Often the shadows seem way too dark but again, be careful because the more you deviate from the native settings, the lower is the resulting photo quality.
What I don't like about digital photos is that they look differently on each screen. Often, especially when shooting on a cloudy day, I enhance the color saturation by about 10%. For black&white pictures, the value/color curves and contrast settings can be manipulated more freely. With colors, unless the editing is selective, such approach could make colors look awkward and unnatural, like bright pink skin. I usually set grayscale mode to "channel mixer", to mimic the effect of using optical color filters (I actually bought some but am lazy to use them).
When shooting in the middle of the day, the pictures tend to have a bluish tint. Increasing color temperature comes handy. If you don't have this option directly, open "curve settings", suppress the blue curve, push up the red one. This can be applied directly to a jpeg using gimp. Most of the other edits maybe as well, but I use UFRaw. One more trick: Open Colors -> Levels, and adjust input-levels sliders to mark the leftmost and the rightmost ends of the histogram. This stretches the tone-scale to cover the entire light spectrum, so the darkest shadows become black and the lightest highlights become white. Generally, it improves the "flat" impression of the picture. There are notable exceptions, like that the mood of a heavily overcast day is better expressed using darker shades, while an image of a sunlit forest with beams of light looks better in bright tones (reference:
Bruce Barnbaum).
5. "Artistic" processing: This I usually avoid since I don't think it fits many photos. Anyway, here are a few techniques:
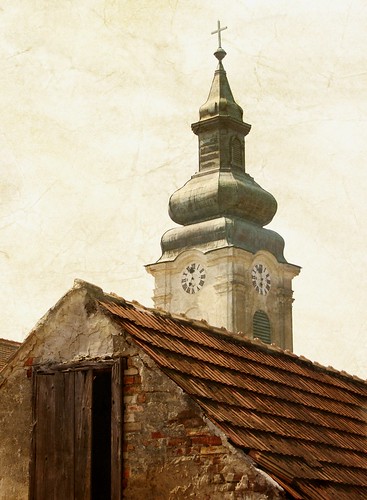
a) Textures: I sometimes use paper textures to give a slight "paint"-feeling to the images of towns. The paper texture and the original image are edited in two separate layers, where I play with blending modes (normal, screen, overlay), and layer opacities. I also adjust color levels to get the effect of "bold" colors of a painting.
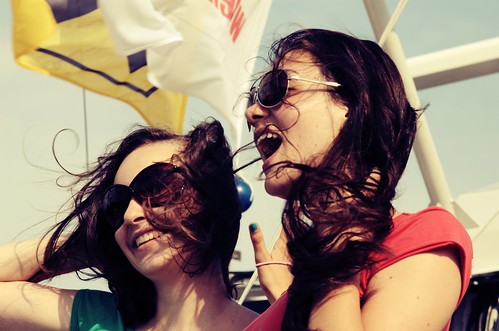
b) Cross-process: The effect of developing a color negative in the chemicals for slides, and the other way around. I never tried it since being afraid to destroy the film. Somewhere I found the following way to mimic the effect digitally, albeit the result looks quite different from the real-thing examples I've seen: Open "Curves". For the green and the red ones, decrease shadows, increase highlights (increasing contrast), like sin x function in (-Pi, Pi). For the blue one, increase the curve in shadows, decrease in highlights (decreasing contrast), like sin x in (0, 2Pi).
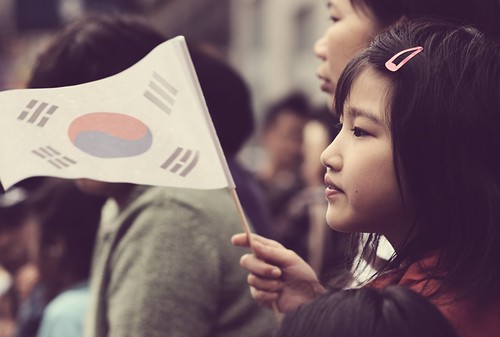
c) Vintage-look: Apply the following color levels: Blue and magenta in screen mode, yellow in multiply mode. Set opacities of the first two between cca 5-15%, and of the latter one to 30-60%. This results in a faded-color, yellowish image. To increase the image definition, duplicate the original image layer, and set to overlay mode. Adjust the opacity to get the right level of definition.
Side-note: IMO, nature looks best without any "artistic" edits.
1 comment